A leaky faucet is more than just an annoying drip—it can waste gallons of water, increase your utility bills, and even cause water damage if left unchecked. While calling a plumber might seem like the easiest solution, fixing a leaky faucet is often a simple DIY task that can save you time and money. In this guide, we’ll walk you through the steps to repair a leaky faucet yourself, without the need for professional help.
Why Fixing a Leaky Faucet is Important
Before diving into the repair process, it’s essential to understand why addressing a leaky faucet is crucial:
- Save Water: A single leaky faucet can waste hundreds of gallons of water annually.
- Lower Bills: Fixing the leak can reduce your water and energy bills.
- Prevent Damage: Constant dripping can lead to mold, mildew, or structural damage over time.
- Eco-Friendly: Conserving water is better for the environment.
Tools and Materials You’ll Need
To fix a leaky faucet, gather the following tools and supplies:
- Adjustable wrench
- Screwdriver (flathead or Phillips, depending on your faucet)
- Replacement washers, O-rings, or cartridges (specific to your faucet type)
- Plumber’s grease or silicone sealant
- Towel or rag
- Bucket or container (to catch water)
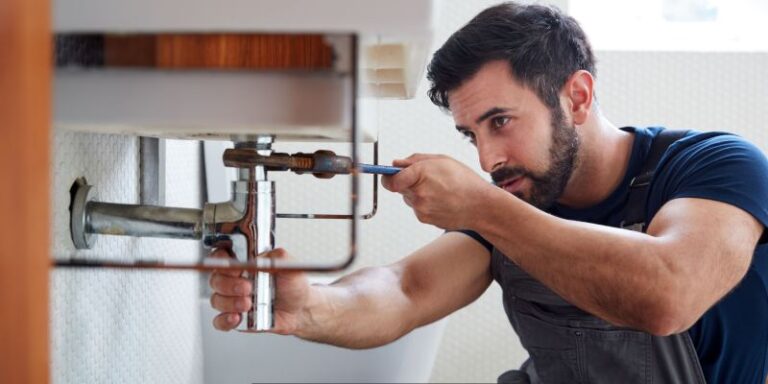
Step-by-Step Guide to Fix a Leaky Faucet
Step 1: Turn Off the Water Supply
Before starting any repair, locate the water shut-off valves under the sink. Turn them clockwise to shut off the water supply. If there are no individual shut-off valves, you may need to turn off the main water supply to your home.
Step 2: Plug the Drain
Place a towel or rag over the drain to prevent small parts from falling in. This will save you the hassle of retrieving them later.
Step 3: Remove the Faucet Handle
- Use a screwdriver to remove the decorative cap on the handle (if applicable).
- Unscrew the handle using the appropriate tool. If the handle is stuck, gently tap it with a wrench or use plumber’s grease to loosen it.
Step 4: Inspect the Faucet Components
Once the handle is removed, you’ll see the inner components of the faucet. Depending on the type of faucet (compression, ball, cartridge, or ceramic disk), the parts will vary. Identify the worn-out part causing the leak:
- Compression Faucets: Look for worn-out washers or O-rings.
- Cartridge Faucets: Check the cartridge for damage.
- Ball Faucets: Inspect the ball and seals.
- Ceramic Disk Faucets: Examine the ceramic disks for cracks.
Step 5: Replace the Faulty Parts
- Remove the damaged parts using a wrench or pliers.
- Take the old parts to a hardware store to ensure you purchase the correct replacements.
- Install the new parts, applying plumber’s grease to ensure a tight seal.
Step 6: Reassemble the Faucet
Carefully put the faucet back together in the reverse order of disassembly. Tighten all components securely but avoid over-tightening, as this can cause damage.
Step 7: Turn the Water Supply Back On
Once the faucet is reassembled, turn the water supply back on and test the faucet. Check for any leaks and ensure the handle operates smoothly.
Tips for Preventing Future Leaks
- Regular Maintenance: Periodically check and replace worn-out parts.
- Avoid Over-Tightening: Tightening handles too hard can damage internal components.
- Use Quality Parts: Invest in durable washers, O-rings, and cartridges to extend the lifespan of your faucet.
When to Call a Plumber
While most leaky faucets can be fixed with basic tools, there are situations where professional help is necessary:
- If the leak persists after replacing the parts.
- If you’re unsure about the type of faucet or repair process.
- If the faucet is old and needs a complete replacement.
Conclusion
Fixing a leaky faucet is a simple and cost-effective DIY project that can save you money and conserve water. By following this step-by-step guide, you can tackle the problem confidently without calling a plumber. Regular maintenance and timely repairs will keep your faucets in top condition, ensuring a leak-free home for years to come.