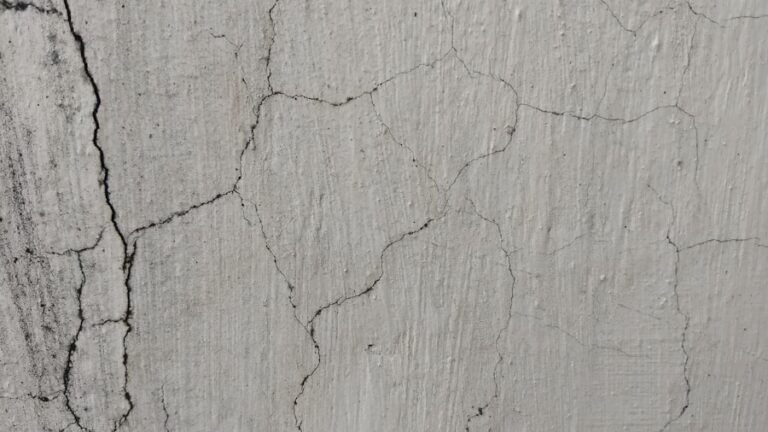
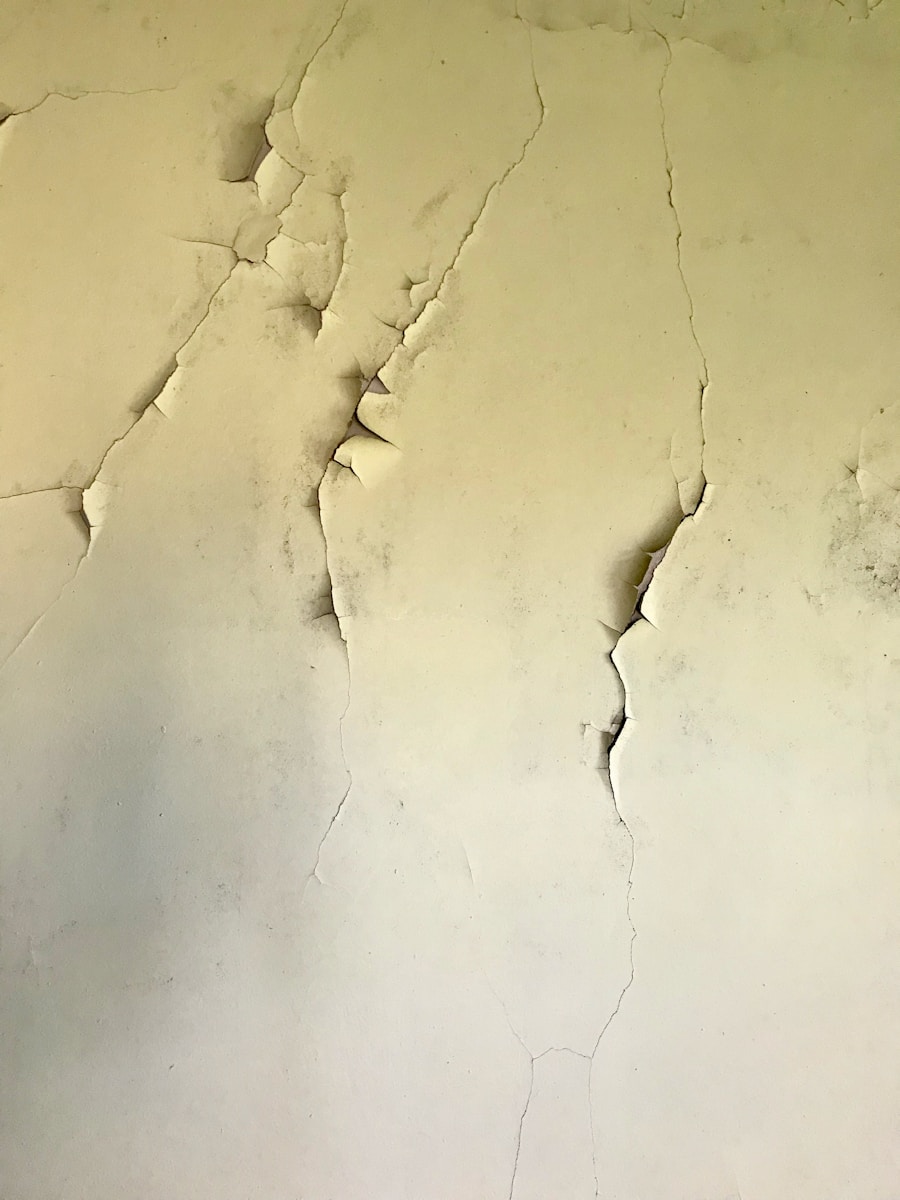
Drywall cracks can be a common nuisance in many homes, often leading to frustration for homeowners who wish to maintain a pristine living environment. Understanding the underlying causes of these cracks is essential for effective repair and prevention. One of the primary reasons for drywall cracks is the natural settling of a house.
As a structure ages, it undergoes slight shifts and movements due to changes in temperature, humidity, and soil conditions. These movements can create stress on the drywall, resulting in cracks that may appear in various locations, particularly around windows, doors, and corners. Another significant factor contributing to drywall cracks is fluctuations in humidity and temperature.
High humidity levels can cause the drywall to absorb moisture, leading to expansion. Conversely, when the air is dry, the drywall may contract. This constant cycle of expansion and contraction can weaken the material over time, making it more susceptible to cracking.
Additionally, improper installation techniques, such as inadequate fastening or insufficient joint taping, can exacerbate the problem. Recognizing these causes is crucial for homeowners to address not only the visible cracks but also the underlying issues that may lead to further damage.
Key Takeaways
- Drywall cracks can be caused by a variety of factors including settling, temperature changes, and poor installation.
- Assess the severity of the crack by determining if it is a hairline crack, a larger crack, or a structural crack that requires professional attention.
- Gather necessary tools and materials such as joint compound, putty knife, sandpaper, and paint to repair the crack.
- Prepare the crack for repair by cleaning out any debris and applying self-adhesive mesh tape for larger cracks.
- Apply joint compound to the crack using a putty knife, ensuring it is smooth and level with the surrounding wall.
- Sand and smooth the surface of the repaired area to create a seamless finish.
- Prime and paint the repaired area to blend it with the rest of the wall.
- Prevent future cracks by addressing underlying issues such as moisture, temperature changes, and structural problems.
Assessing the Severity of the Crack
Understanding the Types of Cracks
Not all cracks are created equal; some may be superficial and easily repairable, while others could indicate more serious structural issues. A simple hairline crack, for instance, often results from minor settling and can typically be fixed with minimal effort.
Identifying More Serious Issues
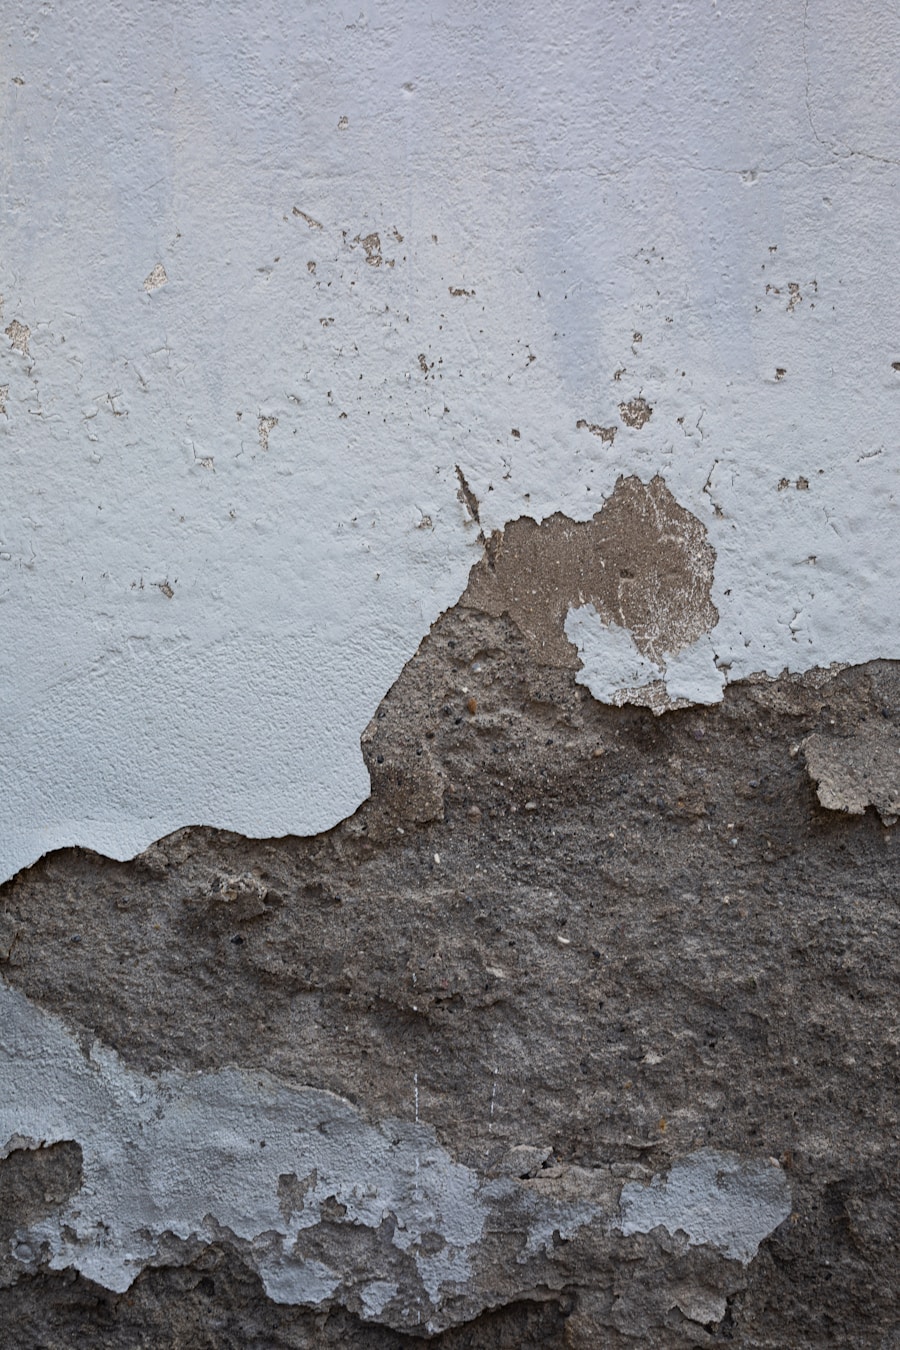
However, if the crack is wider than a quarter of an inch or appears to be growing over time, it may signal a more significant problem that requires professional evaluation. In addition to width, the location of the crack can provide valuable insight into its severity. Cracks that appear near load-bearing walls or ceilings may warrant closer inspection, as they could indicate shifting foundations or other structural concerns.
Looking for Accompanying Signs
Homeowners should also look for accompanying signs such as doors that no longer close properly or uneven floors. By carefully assessing the severity of the cracks, homeowners can determine whether a simple DIY repair will suffice or if they need to consult with a professional contractor for a more comprehensive solution.
Gathering the Necessary Tools and Materials
Before embarking on any drywall repair project, it is essential to gather all necessary tools and materials. Having everything on hand not only streamlines the process but also ensures that repairs are completed efficiently and effectively. Basic tools required for repairing drywall cracks include a utility knife, a putty knife or drywall knife, sandpaper or a sanding block, and a paintbrush or roller for finishing touches.
Additionally, a measuring tape can be helpful for assessing the size of the crack and determining how much joint compound will be needed. In terms of materials, joint compound is the primary substance used for filling cracks in drywall. It is available in various forms, including pre-mixed options that save time and effort.
Homeowners may also need mesh tape or paper tape to reinforce larger cracks and prevent future damage. Primer and paint are essential for finishing the repair and ensuring that it blends seamlessly with the surrounding wall. By gathering these tools and materials beforehand, homeowners can approach their drywall repair project with confidence and clarity.
Preparing the Crack for Repair
| Crack Size | Preparation Method | Effectiveness |
|---|---|---|
| Small (less than 1/4 inch) | Clean with wire brush and apply crack filler | 90% |
| Medium (1/4 inch to 1/2 inch) | Use chisel to widen crack and apply bonding agent | 85% |
| Large (more than 1/2 inch) | Use angle grinder to create clean edges and apply patching compound | 80% |
Preparation is a critical step in any drywall repair process. Before applying joint compound, it is essential to prepare the crack properly to ensure a smooth and lasting repair. The first step in this preparation involves cleaning the area around the crack.
Dust, debris, and loose material can hinder adhesion and lead to an uneven finish. Homeowners should use a utility knife to carefully remove any loose drywall or paint around the crack’s edges, creating a clean surface for the joint compound. Once the area is clean, it is important to assess whether additional reinforcement is necessary.
For larger cracks or those that have been previously repaired multiple times, applying mesh tape or paper tape over the crack can provide added strength and stability. This step helps prevent future cracking by distributing stress more evenly across the surface. After applying tape, homeowners should apply a thin layer of joint compound over it, smoothing it out with a putty knife to create an even surface.
Proper preparation sets the stage for a successful repair and minimizes the likelihood of recurring issues.
Applying the Joint Compound
With the crack prepared and reinforced as needed, it is time to apply the joint compound. This step requires careful attention to detail to ensure an even application that will blend seamlessly with the surrounding wall. Homeowners should begin by using a putty knife to scoop out an appropriate amount of joint compound from its container.
It is advisable to start with a small amount; excess compound can lead to uneven surfaces and require additional sanding later on. When applying the joint compound, homeowners should work from the center of the crack outward, using smooth strokes to spread the compound evenly across the surface. It is important to feather the edges of the compound so that it gradually blends into the existing wall texture.
Depending on the size of the crack, multiple layers may be necessary; each layer should be allowed to dry completely before applying additional coats. This process not only ensures a smooth finish but also allows for better adhesion and durability in the long run.
Sanding and Smoothing the Surface
After allowing sufficient drying time for each layer of joint compound, homeowners must move on to sanding and smoothing the surface. This step is crucial for achieving a professional-looking finish that seamlessly integrates with the surrounding wall. Using fine-grit sandpaper or a sanding block, homeowners should gently sand down any rough spots or uneven areas created during application.
It is essential to approach this task with care; excessive sanding can damage the surrounding drywall or create depressions in the compound. To achieve optimal results, homeowners should periodically wipe down the area with a damp cloth while sanding to remove dust particles that may accumulate during the process. This practice not only keeps the workspace clean but also allows for better visibility of imperfections that need attention.
Once satisfied with the smoothness of the surface, homeowners can proceed to inspect their work closely under different lighting conditions to ensure that no areas require further attention before moving on to priming and painting.
Priming and Painting the Repaired Area
With the surface sanded and smoothed to perfection, it is time for priming and painting—the final steps in restoring the drywall’s appearance. Priming is an essential part of this process as it helps seal the joint compound and provides a uniform base for paint application. Homeowners should choose a high-quality primer suitable for drywall surfaces; this will enhance paint adhesion and ensure an even finish.
Applying primer requires careful attention; homeowners should use a paintbrush or roller to cover the repaired area thoroughly while blending it into adjacent surfaces. Once primed, it is crucial to allow adequate drying time before proceeding with paint application. When selecting paint color, homeowners should aim for a shade that matches their existing wall color as closely as possible.
After applying one or two coats of paint—allowing sufficient drying time between each coat—the repaired area should blend seamlessly with its surroundings, restoring both aesthetics and integrity to the wall.
Preventing Future Cracks
While repairing existing drywall cracks is essential for maintaining a home’s appearance, preventing future cracks is equally important for long-term durability. Homeowners can take several proactive measures to minimize the risk of new cracks developing over time. One effective strategy involves monitoring indoor humidity levels; using dehumidifiers in damp areas or ensuring proper ventilation can help maintain stable moisture levels within the home.
Additionally, regular inspections of walls and ceilings can help identify potential issues before they escalate into significant problems. Homeowners should pay close attention to areas prone to cracking—such as corners and joints—and address any signs of movement or stress promptly. Furthermore, ensuring that heavy furniture or fixtures are not placed against walls can help reduce pressure on drywall surfaces.
By implementing these preventive measures alongside timely repairs, homeowners can enjoy a more stable living environment free from unsightly cracks in their drywall.
If you are looking to repair drywall cracks in your home, you may also be interested in learning about how consumer protection laws affect small businesses. This article explores the impact of these laws on small businesses and provides valuable insights for both consumers and business owners. Check it out here.
FAQs
What causes drywall cracks?
Drywall cracks can be caused by a variety of factors, including settling of the foundation, temperature and humidity changes, poor installation, or simply the natural aging of the building.
How can I repair drywall cracks?
To repair drywall cracks, you can use joint compound and drywall tape to fill and reinforce the crack. Sand the area smooth once the compound is dry, and then repaint the wall to match the surrounding area.
When should I seek professional help for drywall cracks?
If the cracks in your drywall are large, recurring, or accompanied by other signs of structural issues, it’s best to seek professional help. A professional can assess the situation and provide the appropriate repairs to ensure the safety and stability of your home.
Can drywall cracks be a sign of a larger issue?
Yes, drywall cracks can sometimes be a sign of a larger structural issue, such as foundation settling or movement. It’s important to have any significant or recurring cracks inspected by a professional to determine the underlying cause.