Replacing bathroom tiles may seem like a daunting task, but with the right tools, techniques, and a bit of patience, you can achieve a professional finish. Whether you’re dealing with cracked tiles, outdated designs, or simply want a fresh look, this step-by-step guide will walk you through the process like a pro.
Tools and Materials You’ll Need:
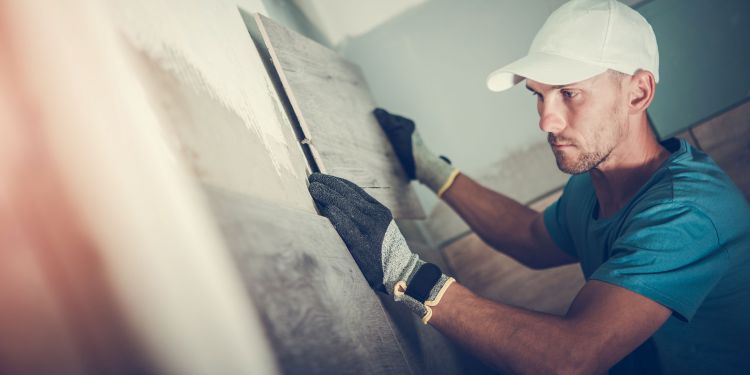
- Safety goggles and gloves
- Chisel and hammer
- Utility knife
- Tile adhesive
- Notched trowel
- Tile spacers
- Grout and grout float
- Sponge and bucket
- Level
- Measuring tape
- Tile cutter or wet saw
Step 1: Prepare the Area
Before you begin, clear the bathroom area and protect surfaces that don’t need tile replacement. If you’re replacing a few tiles, tape plastic sheets around the work area to prevent debris from spreading.
Step 2: Remove Old Tiles
Wear safety goggles and gloves to avoid injury. Use a utility knife to score around the edges of the tile, then place a chisel at an angle and gently tap it with a hammer to loosen the tile. Remove adhesive residue using the chisel or a scraper to create a smooth surface.
Step 3: Prepare the Surface
Ensure the wall or floor is clean and free from dust and debris. If necessary, patch any holes with filler and let it dry completely before proceeding.
Step 4: Measure and Cut New Tiles
Measure the replacement area and cut tiles to size using a tile cutter or wet saw. Dry-fit the tiles before applying adhesive to ensure proper placement.
Step 5: Apply Tile Adhesive
Use a notched trowel to spread adhesive evenly over the surface. Press each tile firmly into place, using tile spacers to maintain even gaps. Allow the adhesive to set according to the manufacturer’s instructions.
Step 6: Apply Grout
Once the adhesive has fully set, remove spacers and use a grout float to apply grout between the tiles. Wipe off excess grout with a damp sponge and let it cure for the recommended time.
Step 7: Finishing Touches
After the grout has dried, buff the tiles with a clean, dry cloth to remove any haze. Apply a waterproof sealant around edges and corners to prevent moisture penetration.
Bonus Tips for a Professional Finish:
- Use a level to ensure tiles are aligned properly.
- Choose a grout color that complements your tiles.
- Consider sealing the grout to enhance durability and prevent stains.
- Work in small sections to prevent the adhesive from drying too quickly.
By following these steps, you can replace your bathroom tiles with confidence and achieve a sleek, professional finish. Whether you’re doing a full renovation or just swapping out a few tiles, careful preparation and attention to detail will ensure a job well done.